Let’s get you started with Newsletter Glue
Thanks for choosing Newsletter Glue. We simplify and speed up your newsletter publishing process so you can focus on the writing.
Hands-on tour
Play around with this newsletter post for a quick tour of our features.
By the end, you’ll have:
- Sent a test email (1 minute)
- Customised newsletter blocks (3 minutes)
- Explored newsletter patterns (2 minutes)
1. Send your first test email
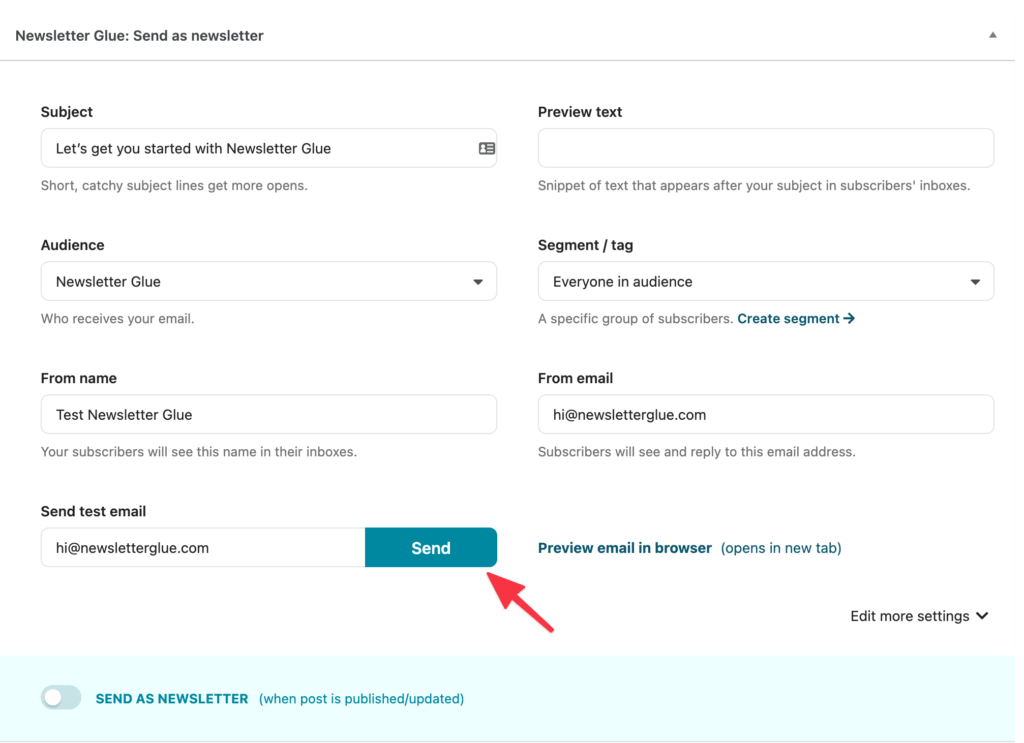
Scroll to the end of this post and look for Newsletter Glue: Send as newsletter and Send test email.
Click the Send button. You’ll receive this post as an email in your inbox.
Go on! Try it now. I’ll wait…
Welcome back! That was easy, right?
You can also Preview email in browser, which shows you the web view of the email without your blog theme.
(if you didn’t receive your email, learn more here)
Send a real newsletter campaign
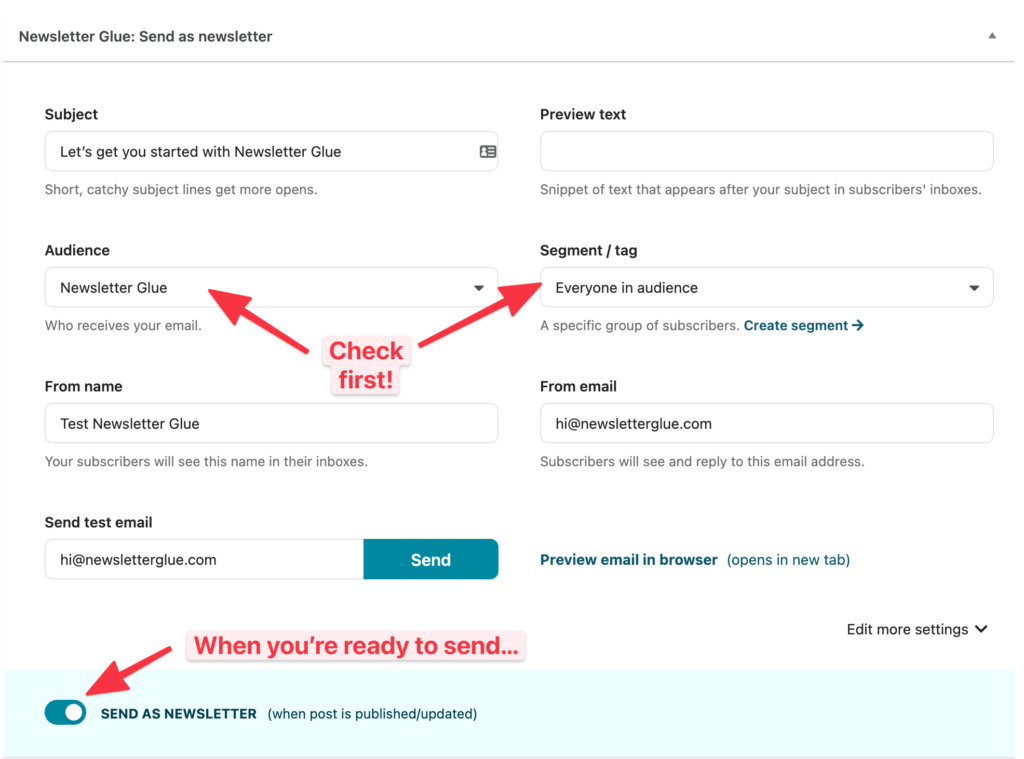
To send a newsletter campaign, simply toggle Send as newsletter at the bottom. Then Publish the post normally.
Make sure you select an audience tag that’s for testing! You don’t want to accidentally send this email to all your subscribers!
2. Customise newsletter blocks
Now that you know how to send email newsletters, let’s talk about building them…
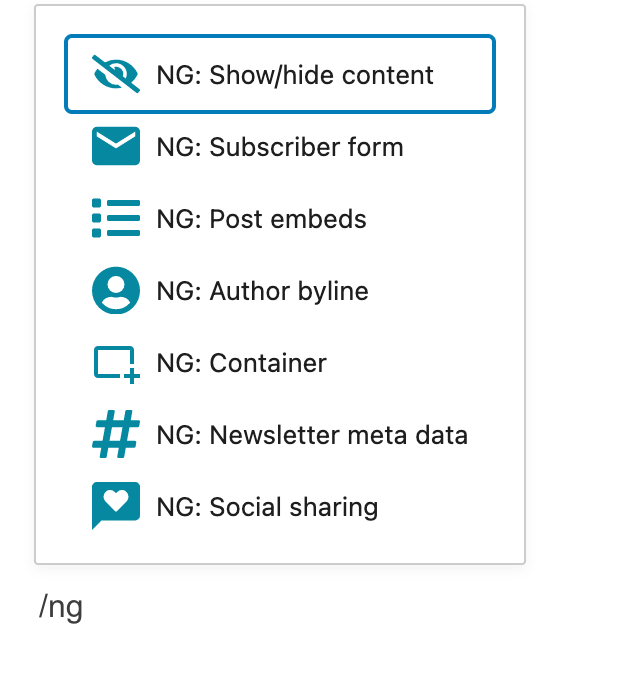
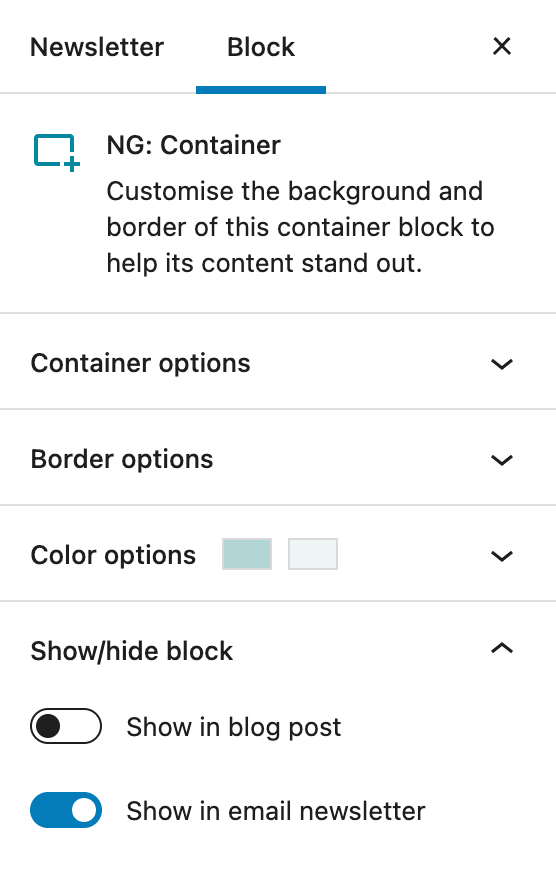
6 other newsletter blocks are waiting for you.
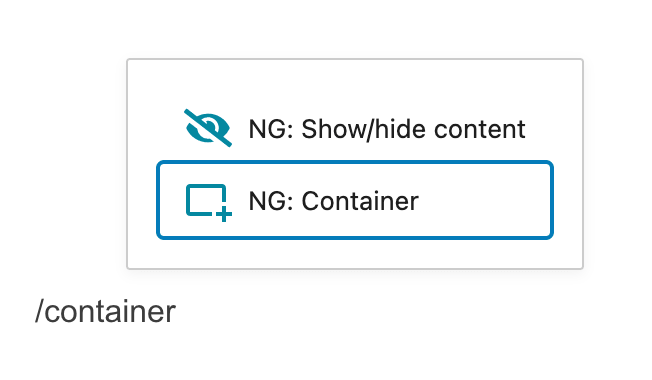
Type /NG to bring up a list of all newsletter blocks or head to our docs to learn more.
3. Add a newsletter pattern
Adding newsletter patterns dramatically speed up your newsletter workflow.
Let’s add a Footer pattern to this newsletter:
- Click Add block (blue square button, top left hand corner)
- Go to Patterns tab
- Select Newsletter footers category
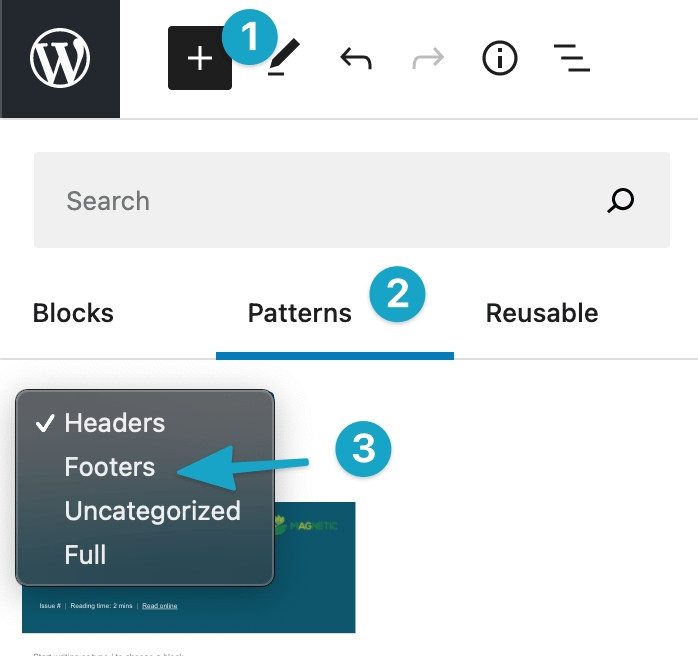
Then choose a footer you like and add it to this email.
When you’re ready, send yourself another test email or simply Preview email in browser.
You’ve reached the end of this tutorial!
Hooray! You’re a newsletter pro!
If you’re itching for more, here’s what you can do next:
1. Add some mergetags.
2. Set up your newsletter archive.
2. Check us out on Twitter for updates.


